Showing posts with label Crafts for Kids. Show all posts

Hand Painted Canvas Shoes


Today was Day 1 of the school holidays so we thought we'd kick things off with a craft activity. I found some canvas shoes for $3.50 a pair at Kmart last week so today we went back and picked up a few pairs for an afternoon shoe painting session.  


Before we started I used masking tape around the soles of the shoes so they'd stay (mostly) free from paint. I used masking tape on my 5 year old's shoes to help create the design - this is a fantastic way to get a good result with younger kids because the tape does the tricky part for you.


We used a combination of fabric paint and fabric pens along with some stamps that I found at a market last week.


It was a really fun family activity and something different to our usual crafts. Have fun with this one - the possibilities are endless!

How to build a robot out of recycled materials

This morning we woke up to rain and mist and no real plans for the day. Since we're not spending any money at the moment due to our No Shopping Challenge we decided today was a perfect day to hang out at home and get creative.

Ben was given this great book by his Auntie for Christmas. It has cool ideas for making robots using odds and ends that you have lying around at home.


We didn't end up doing a project from the book but it did give us inspiration to do this:


We had an old laptop with a broken screen stored away in a cupboard and it was the perfect thing for Mr J and Benny to dismantle. Ben loved using the screw driver and taking the pieces out by himself. Pretty soon we had a big crate of wire, circuit boards, and pieces of metal.

Next came construction:


Then spray paint using some leftover car paint we had in the laundry.. and gluing the cool pieces from the lap top in place.


 This is a great up cycling/recycling project to do with your kids. Everything on "Otto Ankle" (that's what Ben named him!) was found around the house. If you'd like to make something like this yourself here are some ideas of what you may need:

  • Old electrical equipment such as a stereo or computer. Make sure the battery is removed if you're taking apart a laptop and be sure to supervise your kiddies just in case as there are some sharp metal bits inside.
  • Cut off cords from broken appliances
  • Tin cans
  • Plastic bottles and lids
  • Duct tape
  • Insulation tape
  • Super glue
  • Cardboard tubes
  • Sharpie pens
  • Spray paint or regular acrylic paint
  • Wire
  • Cardboard boxes in various sizes
We've started a collection of things of this nature for Ben to make stuff with, that way when we find something interesting it's easy to add it to the box. We're going to keep the box up high so he has to ask to use it (otherwise I foresee some 2am building sessions). Council clean up days are a great way to build up a stash of interesting building materials or ask around your friends to see if anyone has any electrical equipment they want to get rid of.

Happy building!

Day 14 - Free fun & Fimo


Today started as one of those days. The kids were sick and tired of being stuck inside following a week of weather that made it too uncomfortable to go out. No matter how hard I tried I couldn't get them to agree to disagree and tempers were frayed (including mine).  Time to go out!

We had planned to do a quick trip to the park hoping that some fresh air and exercise would change their moods for the better. Then someone mentioned a walk to a cave down the road in the National Park where you can see Aboriginal hand paintings and suddenly we were on a bush walk. Half way to the cave we saw another sign to a swimming hole that we've been meaning to look at since we arrived in the mountains. Our plans changed again and we took off down some steep rocky steps.

Gosh, I'm so glad we did. We hadn't planned to visit the National Park today and we certainly hadn't planned for a swim -but with my children where there's water and a bit of sunshine someone is always going to get wet. We had the whole place to ourselves so I let them strip off to their underwear and dive in.

In seconds my tired and moody kids were happy again looking for "crystals" in the sand and splashing around in the cool water. If I'd packed sun screen and food we could have stayed all day.

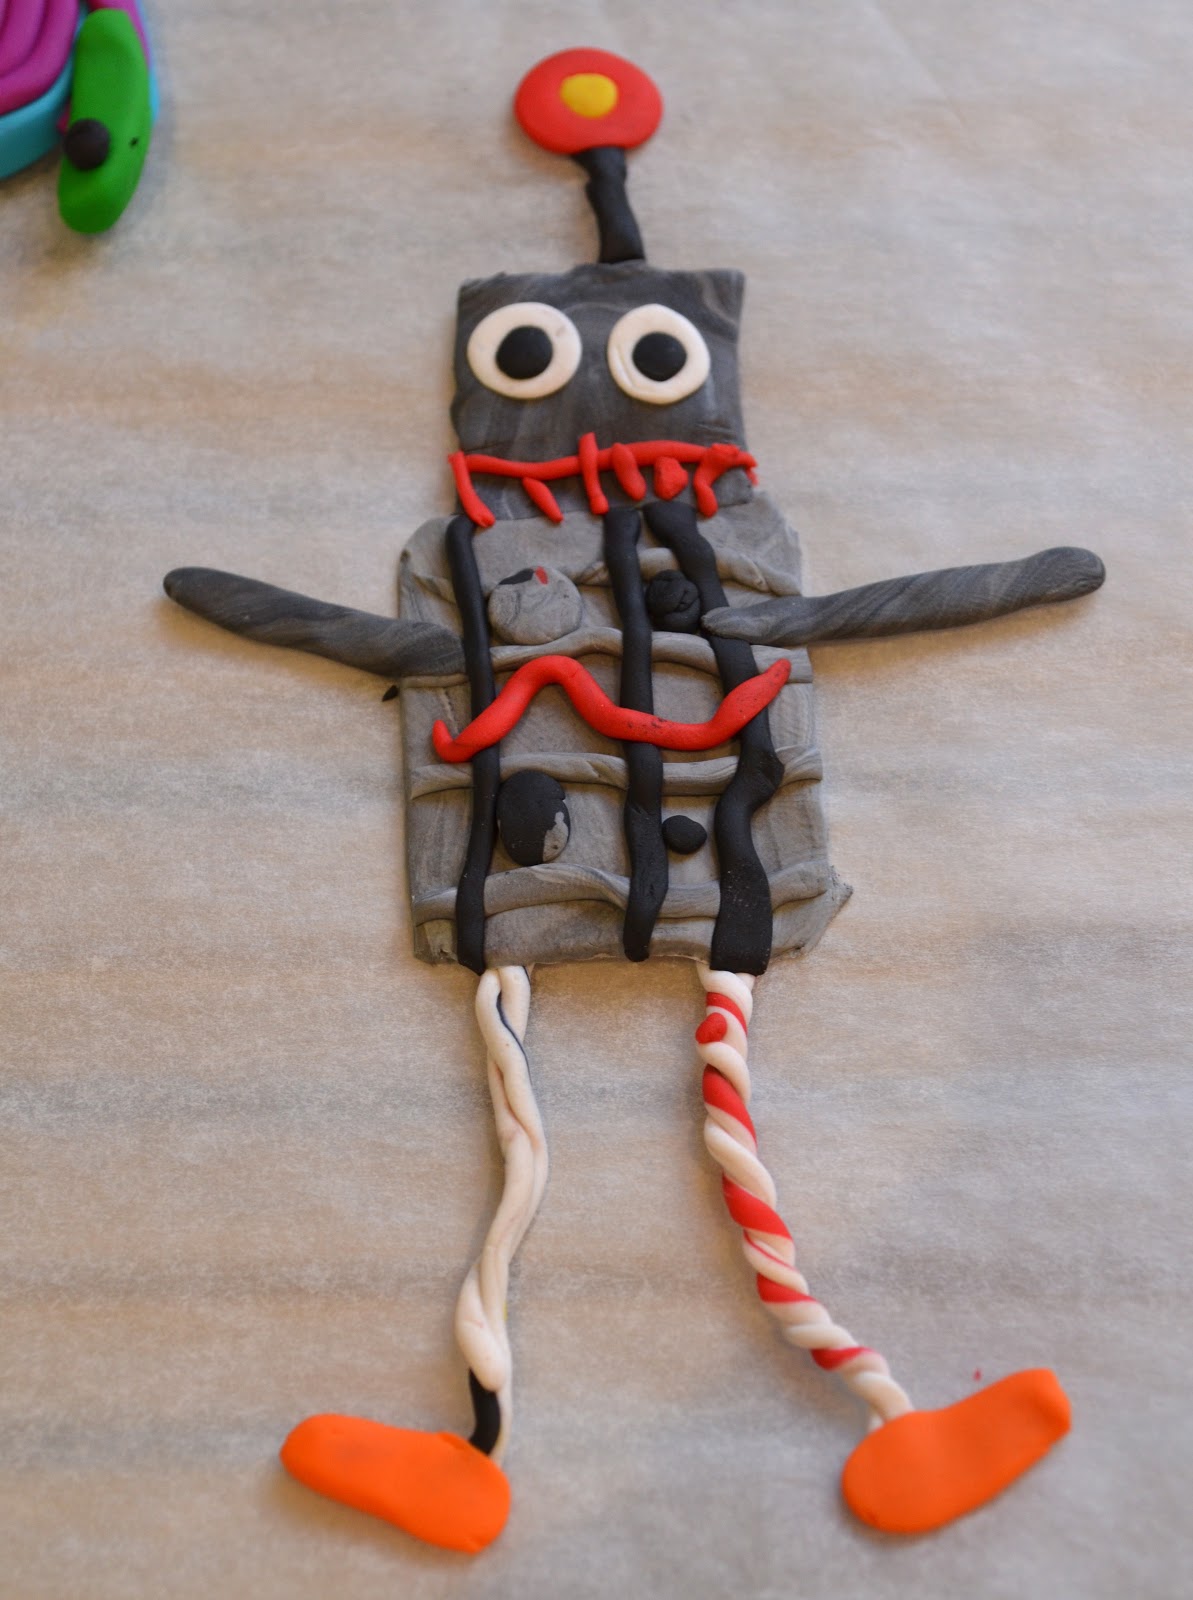
With my patience restored I was in the mood for some craft this afternoon so we got out the Fimo clay and made some beads. Ben made a robot to make into a magnet.

I'm two weeks into my no shopping challenge today and we've done really well. So far we've stuck to our plan. It's been hard at times. Mornings like this morning usually make me want to go and do something with the kids - the mall, the zoo, a trip to Sydney, DVD's from the shop. Today we did get to do things together - free things - and it was just as fun.

Kombucha, Gardening and Santa's Workshop

I've had a busy last few weeks as I'm sure most of you have had. I've had lots of sewing to do for our home made gifts, all of the usual Christmas and end of year stuff for the kids, and on top of that our laptop died suddenly.

This morning I was bottling up last week's kombucha and it prompted me to post a quick update here to tell you how we're getting on with it.  We've been making kombucha since the end of September and since then we've gone from drinking 1L per week to 4L per week.. and we're still running out! The kids absolutely love it, which is a surprising bonus. I've had a play with flavoured teas and we've settled on a favourite - cranberry and pomegranate (1 cranberry and pom tea bag and 1 black tea bag per 1L of water). You can read all about my entry into the world of fermented kombucha tea including my recipe here.

As for the health benefits.. well, we haven't had any 'die off' or negative side effects at all. I do limit the kids to one glass per day but they've been known to sneak more. Jemima in particular is mad for it.  Both kids have been pretty healthy lately but I think the real test will be next winter when the bugs start lurking. One thing I have noted is that both kids have been exposed to a rampant tummy bug repeatedly over the last month through friends and school/preschool and neither of them has caught it.


These bottles will go into the cupboard for a week to further ferment and fizz up a bit and then they'll be ready to drink. I was only leaving them for three or four days but we found that by leaving them longer the kombucha mellowed a bit and the taste was fresher.

As for the taste.. if you're unfamiliar with kombucha you may be wondering what it's like. The bottles above taste like an iced tea mixed with berry, a bit fizzy and really clean and refreshing. It's yum honest!


And the bonus of making lots of bottles of kombucha is that you end up with lots of SCOBY's. When you make a batch a new yeast pancake forms on the top which you can separate when it's big enough and use to make a new batch of tea. Since we're away for Xmas I've put my SCOBY's in a jar covered with kombucha tea, they'll sit dormant in the fridge until I come home.

 So how's the balcony garden doing?


Thai pink egg tomatoes almost ready!


Zucchini and capsicum (looking a bit hot).


Legend tomato - just starting to form fruit.


Two heirloom Diggers tomatoes.


Cucumbers which are growing along the wire nicely. 

And lastly.. Christmas. I had a goal this year of making Christmas as simple, ethical, and home made as possible. Now that my shopping and making is done - how did I do?


My first challenge was to make gift bags rather than buy wrapping paper. I've done pretty well. All but three or four presents from us to the kids and each other are in bags. I ran out of time at the end so we have a present or two for the kids in paper. Next year I'll make a couple more and we should be sorted. Jemima and Ben made their own using stencils and stamps and I sewed them up.

As far as gifts go, most of them were hand made by me. It's a cheap way of doing things but it does take planning and a lot of time. I made Jemima some clothes and a beach bag out of a vintage towel, and I made Ben an explorers satchel and a quilt for his bed. My nephews are all receiving home made presents too. For the bought presents I used the Oxfam shop for one person and I bought lots of books. The kids have one toy each under the tree that isn't particularly eco friendly or educational but it was what they'd asked for.. and it is Christmas after all! So while I wasn't 100% on track with my goal, I was definitely more mindful when buying things and I think it helped to distance myself from the mad consumerism and craziness out there at this time of year.

Wishing you all a very Merry Christmas season, I hope it's a special time with your family full of fun and good things.

x Becs

Make it Monday - Dress ups


My children adore dressing up and being in character. They can spend hours pretending they're animals or circus performers or pirates. Happily, I love making costumes! This week I made some felt animal masks. I started with a rainbow parrot for Jemima's rainbow themed party coming up next month. Once they saw it completed the requests came in thick and fast.. koala, fox, pig, cat, lion!


The masks are really simple to make. I used an old paper mask we had as a basic template then added the various ears and noses for the different animals. They all have a piece of elastic attached at the back. I've made a template to print off if you'd like to try these yourself. It's available here: Felt mask template.

Now that we have a good supply of masks I'm looking forward to adding to our dress up box in the next few weeks. I saw these gorgeous DIY bridal veils from make and takes the other day and they're next on my list:


The tulle is gathered before being hot-glued to a white headband. The headband is then covered in white ribbon. Easy peasy!

I also love these Indian headbands with feathers from Dress ups Kids. I plan on making my own version using piece of ribbon or a white headband with some painted stripes and dots and some feathers.


These beautiful felt crowns are another one on the To Do list. There's something about working with felt that's so satisfying. I think perhaps it's no no-fray factor and the way it all holds together with some hand stitching.


Jessica Levitt of Juicy Bits has a great tutorial for felt birthday crowns including a pattern.


Back in January I made these costumes for Ben's preschool. Instructions on this superhero cape and the bird wings are available here.

From my little superheroes to yours, have a great week!


Make it Monday - Party Decorations

Ah, a subject close to my heart. There's almost nothing I like more than party planning. Today's Make it Monday is all about party decorating with a focus on garlands and paper crafts. Making your own decorations out of paper or recycled fabrics is an effective way to give the look of your party a boost for very little money.

My favourite decorations are banners, garlands, and pompoms. Banners and garlands are quick to make and are so versatile. I like to hang them over windows, from trees, verandahs, or light fittings. Tissue pompoms look great hanging from varying heights indoors or from trees at outdoor events.

When choosing the crafts to feature here today I looked for things that are a little different and can be made easily at home. I hope these ideas give you some inspiration for your next party and show you how easy and cheap it is to make party decorations yourself.

Elslie Larson of A beautiful mess features some great ideas for garlands on her blog. I love the idea of recycling fabrics to make knots of bows, and the vintage wallpaper second from the bottom is to die for.


Erin Wilson of Carosello created this gorgeous fabric fringe banner that I just love. What a perfect way to use up fabric scraps!


Home Heart Craft has a great tutorial for these Hot Air Balloon lanterns. These would be fun to hang outside for a summer party but just as good indoors to liven up a party room. See the little glass containers there? That's where I'd be putting little ornaments or notes that mean something to the birthday boy or girl. Maybe a quote, a line of poetry, or some of their favourite things.


Paper pompoms are a really easy way to make a party look special. So many people I know pay $10 each for them and that makes me what to cry! They're so simple to make, once you learn how you'll never even think of buying them again. Pompoms are a Martha Stewart special. She offers a basic guide to making them on her page. I like Youtube tutorials like this one: Paper pompom video for step by step instructions.


These yarn or string ball decorations from Hostess with the Mostess are another simple idea that looks much more complicated than it is. All you need is some balloons, some string, glue, and cornstarch. A full tutorial with pictures is available on the link above.

This beautiful paper mobile is made from coloured card stock and small metal rings. It looks labour intensive but I had to share because for a special event like a wedding I think they'd be beautiful. For instructions and photos see Camille Styles .

And lastly,


These beautiful 'bunting' garlands were made by my friend Belinda for her daughter's birthday party. They're made from paper napkins, paper doilies, and string. The napkins and doilies are folded in half before being glued onto the string. They looked gorgeous.

Have a great week everyone!

LinkWithin

Related Posts Plugin for WordPress, Blogger...